
Electric-Acoustic Melodica
Constructing an Electric-Acoustic Melodica
Inspired by my piano teacher Tim Harrison (a proficient flute and melodica player) and Jon Batiste (The Late Show band) I decided to buy a melodica. For about 5 or 6 years now, I have enjoyed playing my cheap Hohner 37-key instrument. I used to play the saxophone in grade school, and playing the melodica in the same style as Jon Batiste (almost like a trumpet) gives me a similarly satisfying feeling of expression that is a nice change-up from piano.
In the fall I saw Steely Dan on their “Absolutely Normal ‘21” tour in Bethlehem, and I thought Donald Fagen was killing it on the electric-acoustic melodica. I was determined to see if I could create something similar on a budget with my own melodica. After stumbling across this blog post (shout out to Jake Wildwood) which used the same make and model of melodica, I knew I was on to something.
For Christmas, my siblings got me a Journey Instruments piezo pickup system for acoustic guitars. This was the key piece of the puzzle to put the melodica together. A piezo pickup is essentially a piece of quartz (silicon dioxide) which will “squash” together when pressure is applied to it. If a circuit is built around a chunk of quartz, the voltage drop will change over the quartz as varying amounts of pressure are applied. This key property enables technology like piezo-pickups to be built.
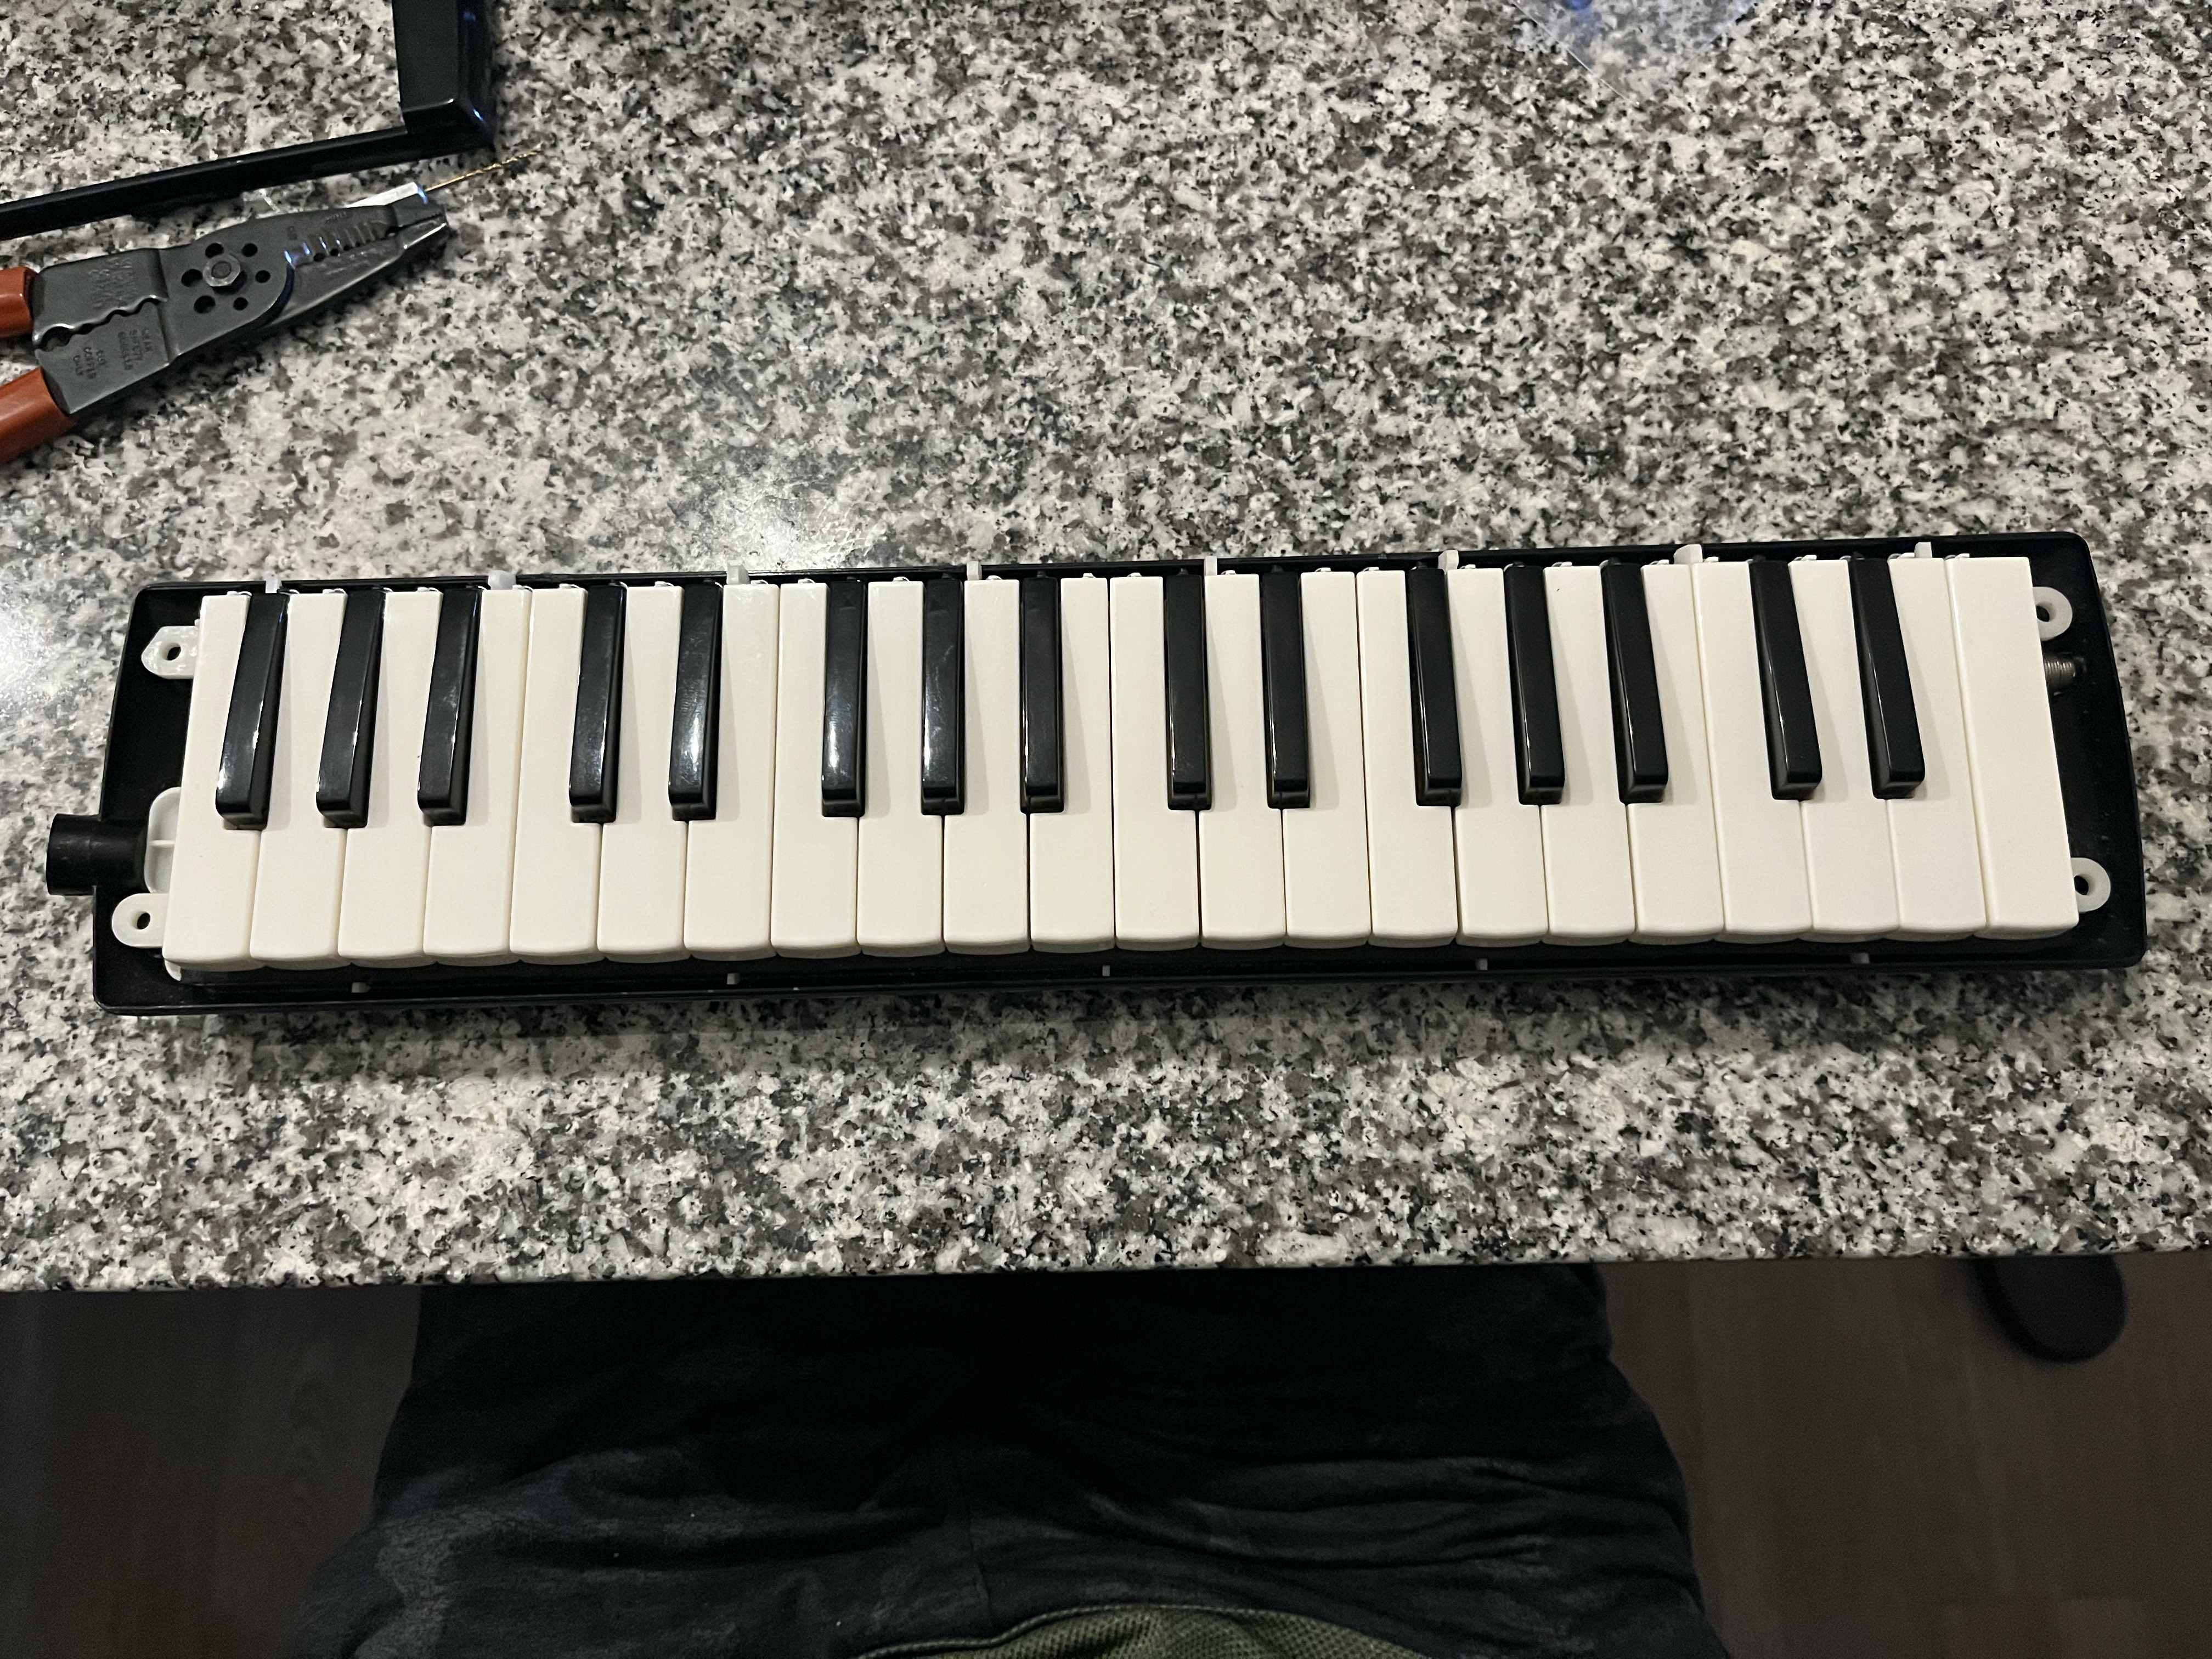
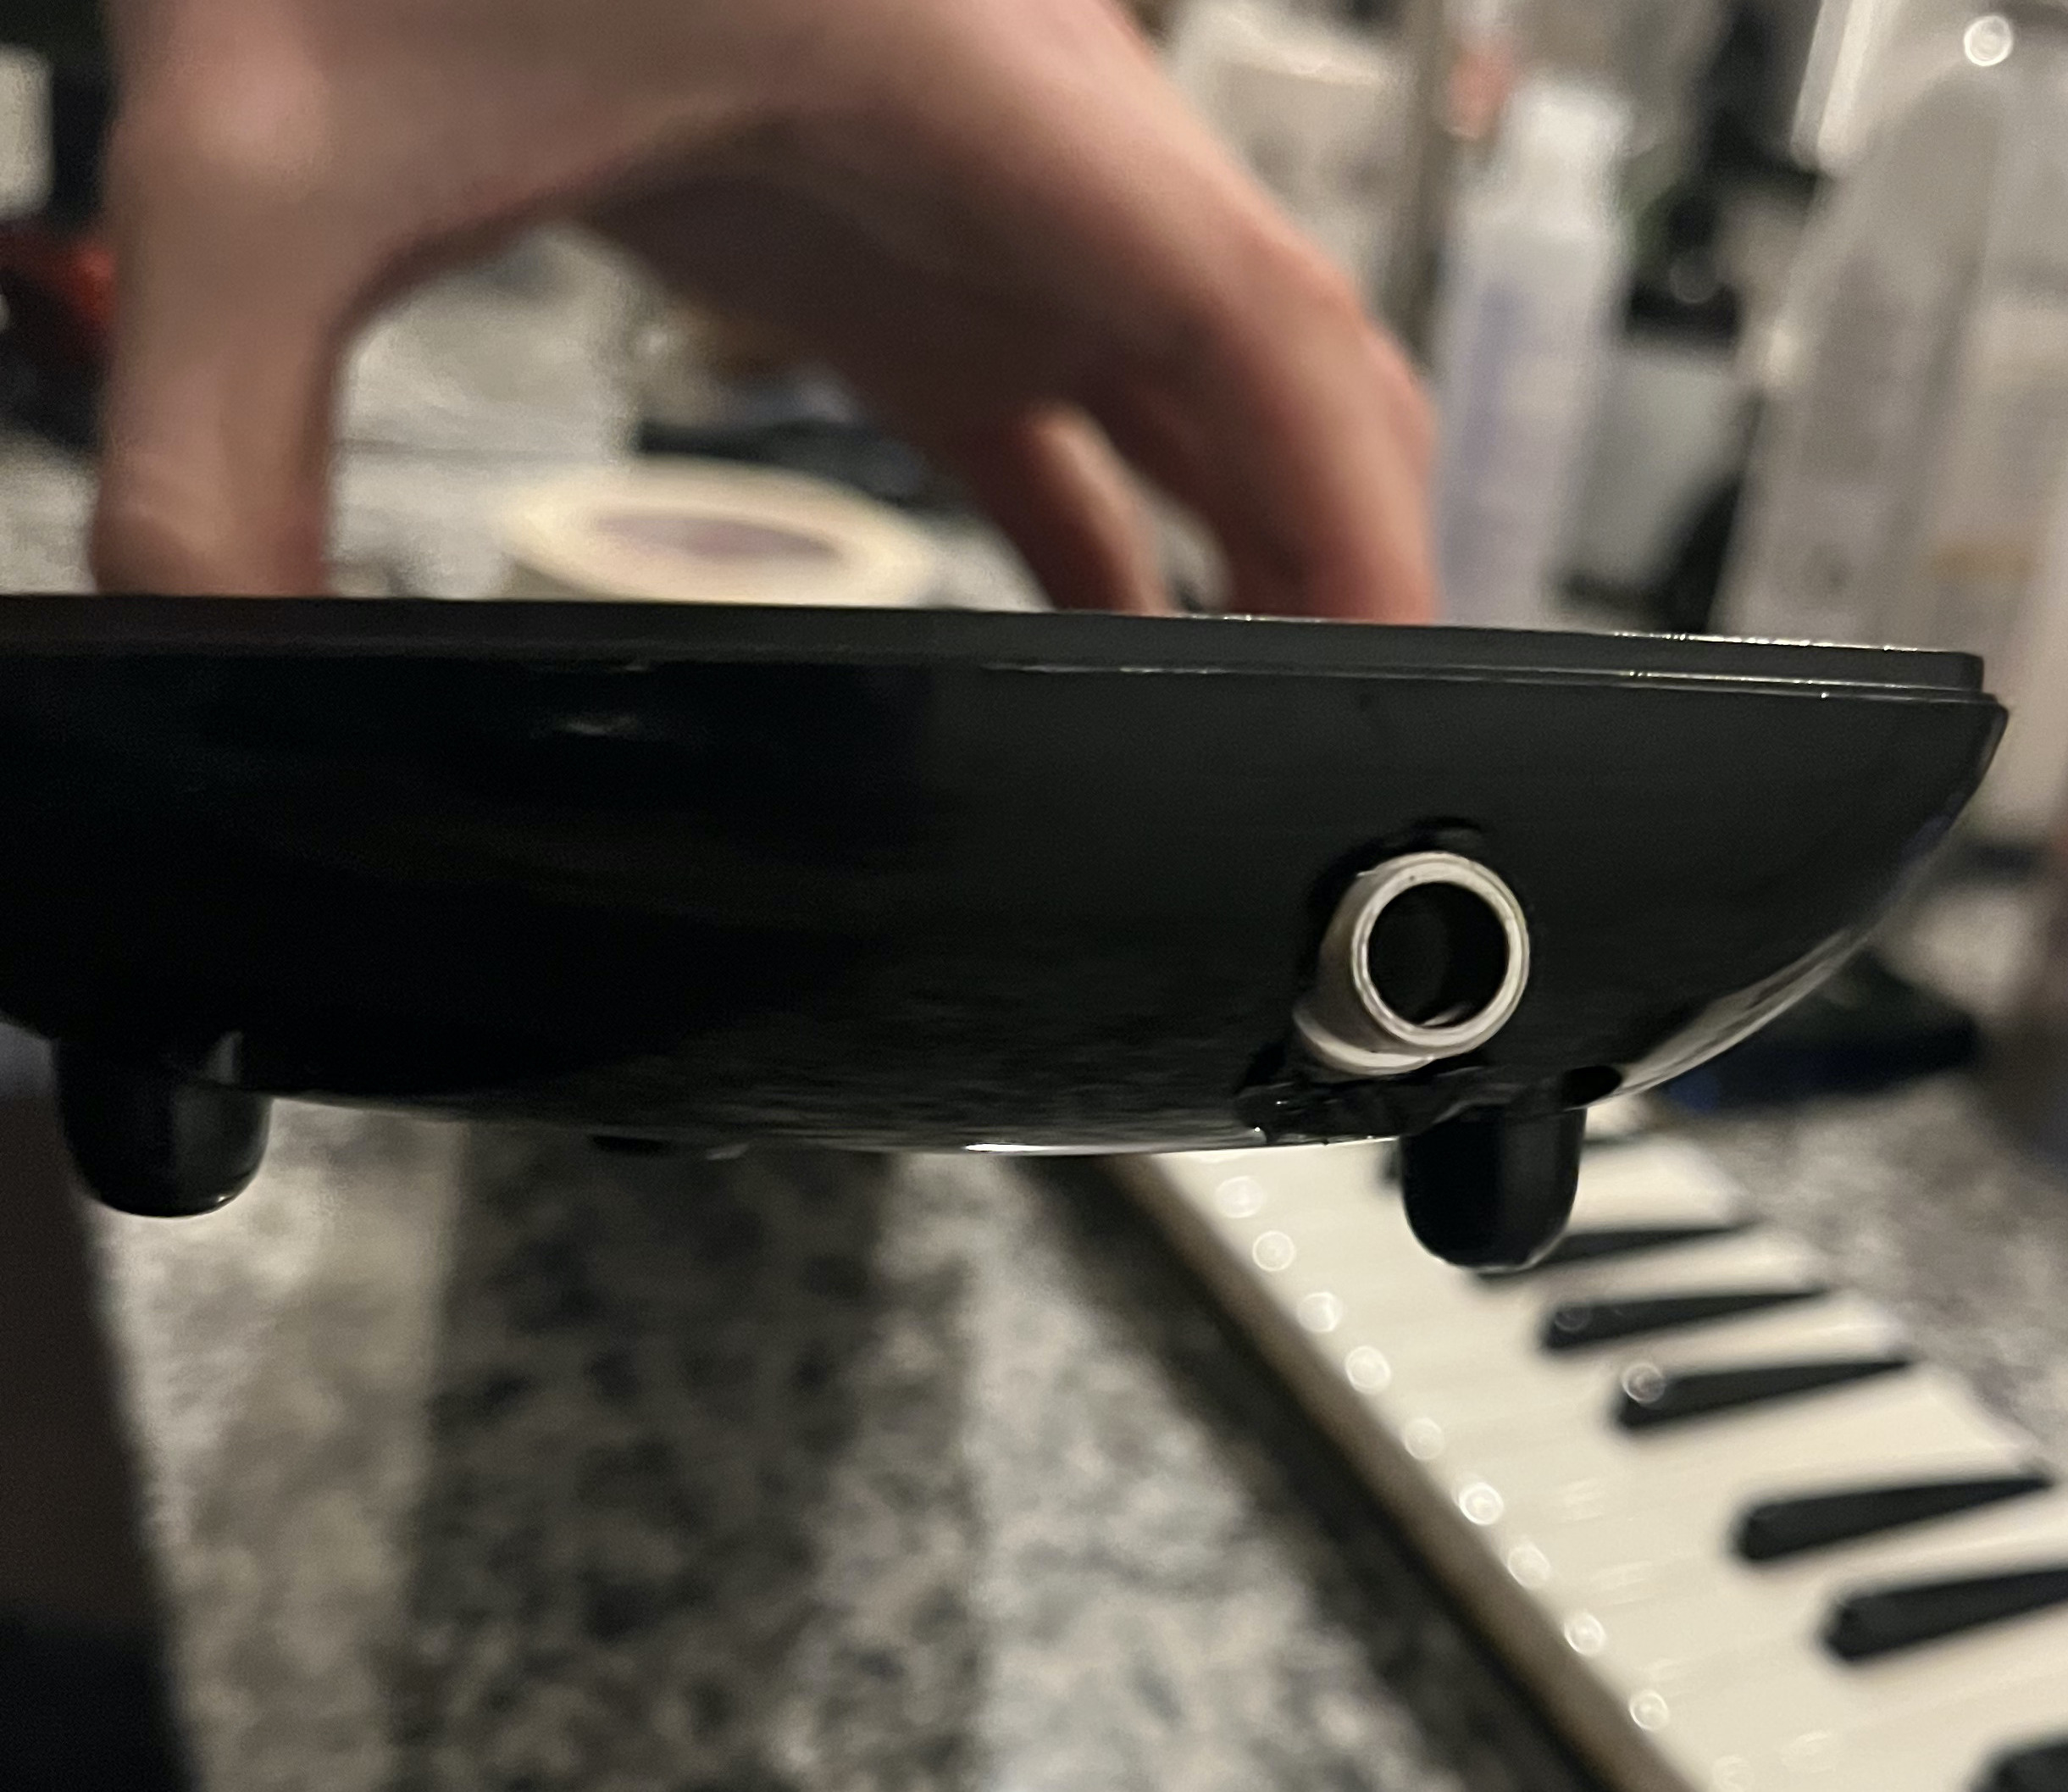
I started by opening up my melodica and seeing what kind of clearance I had within the plastic housing. Based on the internal geometry and the size of the Journey Instruments quarter-inch jack, I decided to place the pickup near the back of the keys and route the wiring from there. Using a drill and soldering iron, I carefully created a hole to house the jack. With liberal application of gel super glue and friction, the jack held firmly in place.
With the easy part completed, I needed to laboriously route the pickups to the sound chamber of the instrument. The bottom portion of the instrument is an airtight chamber which routes the air blown by the musician over the reeds of whichever keys are pressed. I wanted the pickups to capture the resonance of the plastic housing when the instrument is played, so I needed access to this chamber in a minimally-invasive way. Using a small bit on my drill I was able to create through holes into the three places in the chamber- I then cut the pickup wires in order to route them through back to the jack assembly.
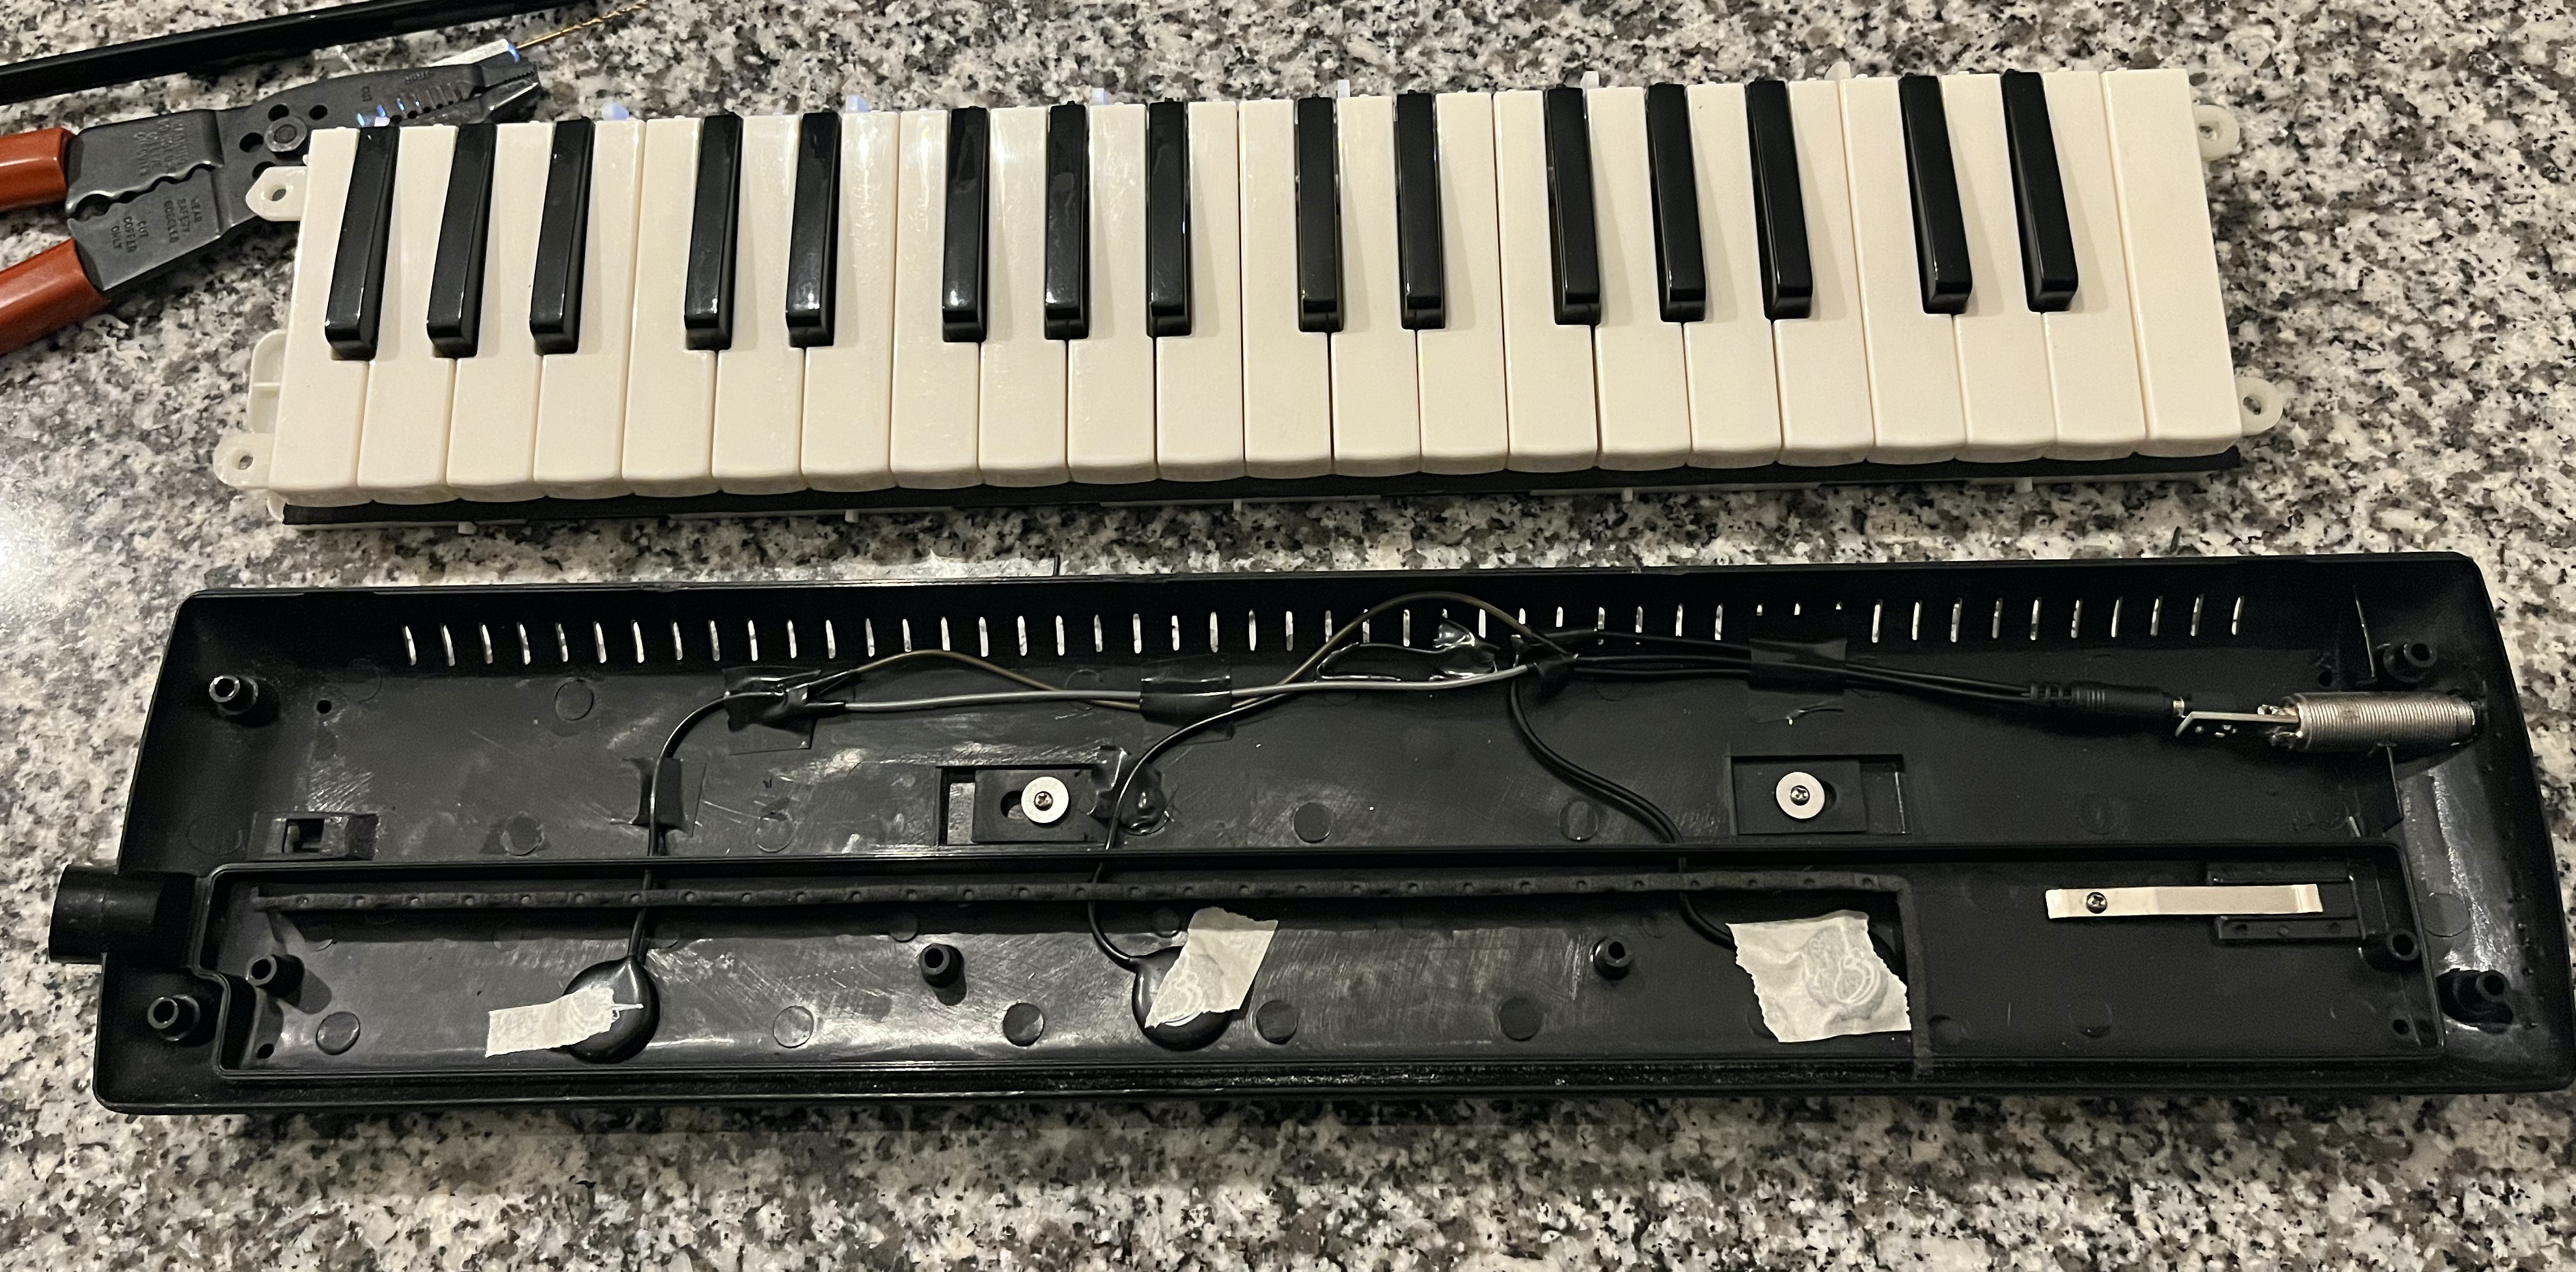
Soldering the wiring back together was a challenge- the pickup wires are coaxial, meaning power and ground lines are contained within the same wire (think two concentric circles). With some determination and a fair amount of electrical tape and time I was able to get everything back together. Now it was time to test if the pickups still worked after my electrical hack-job, so I taped the pickups in place and plugged everything in to my amp.
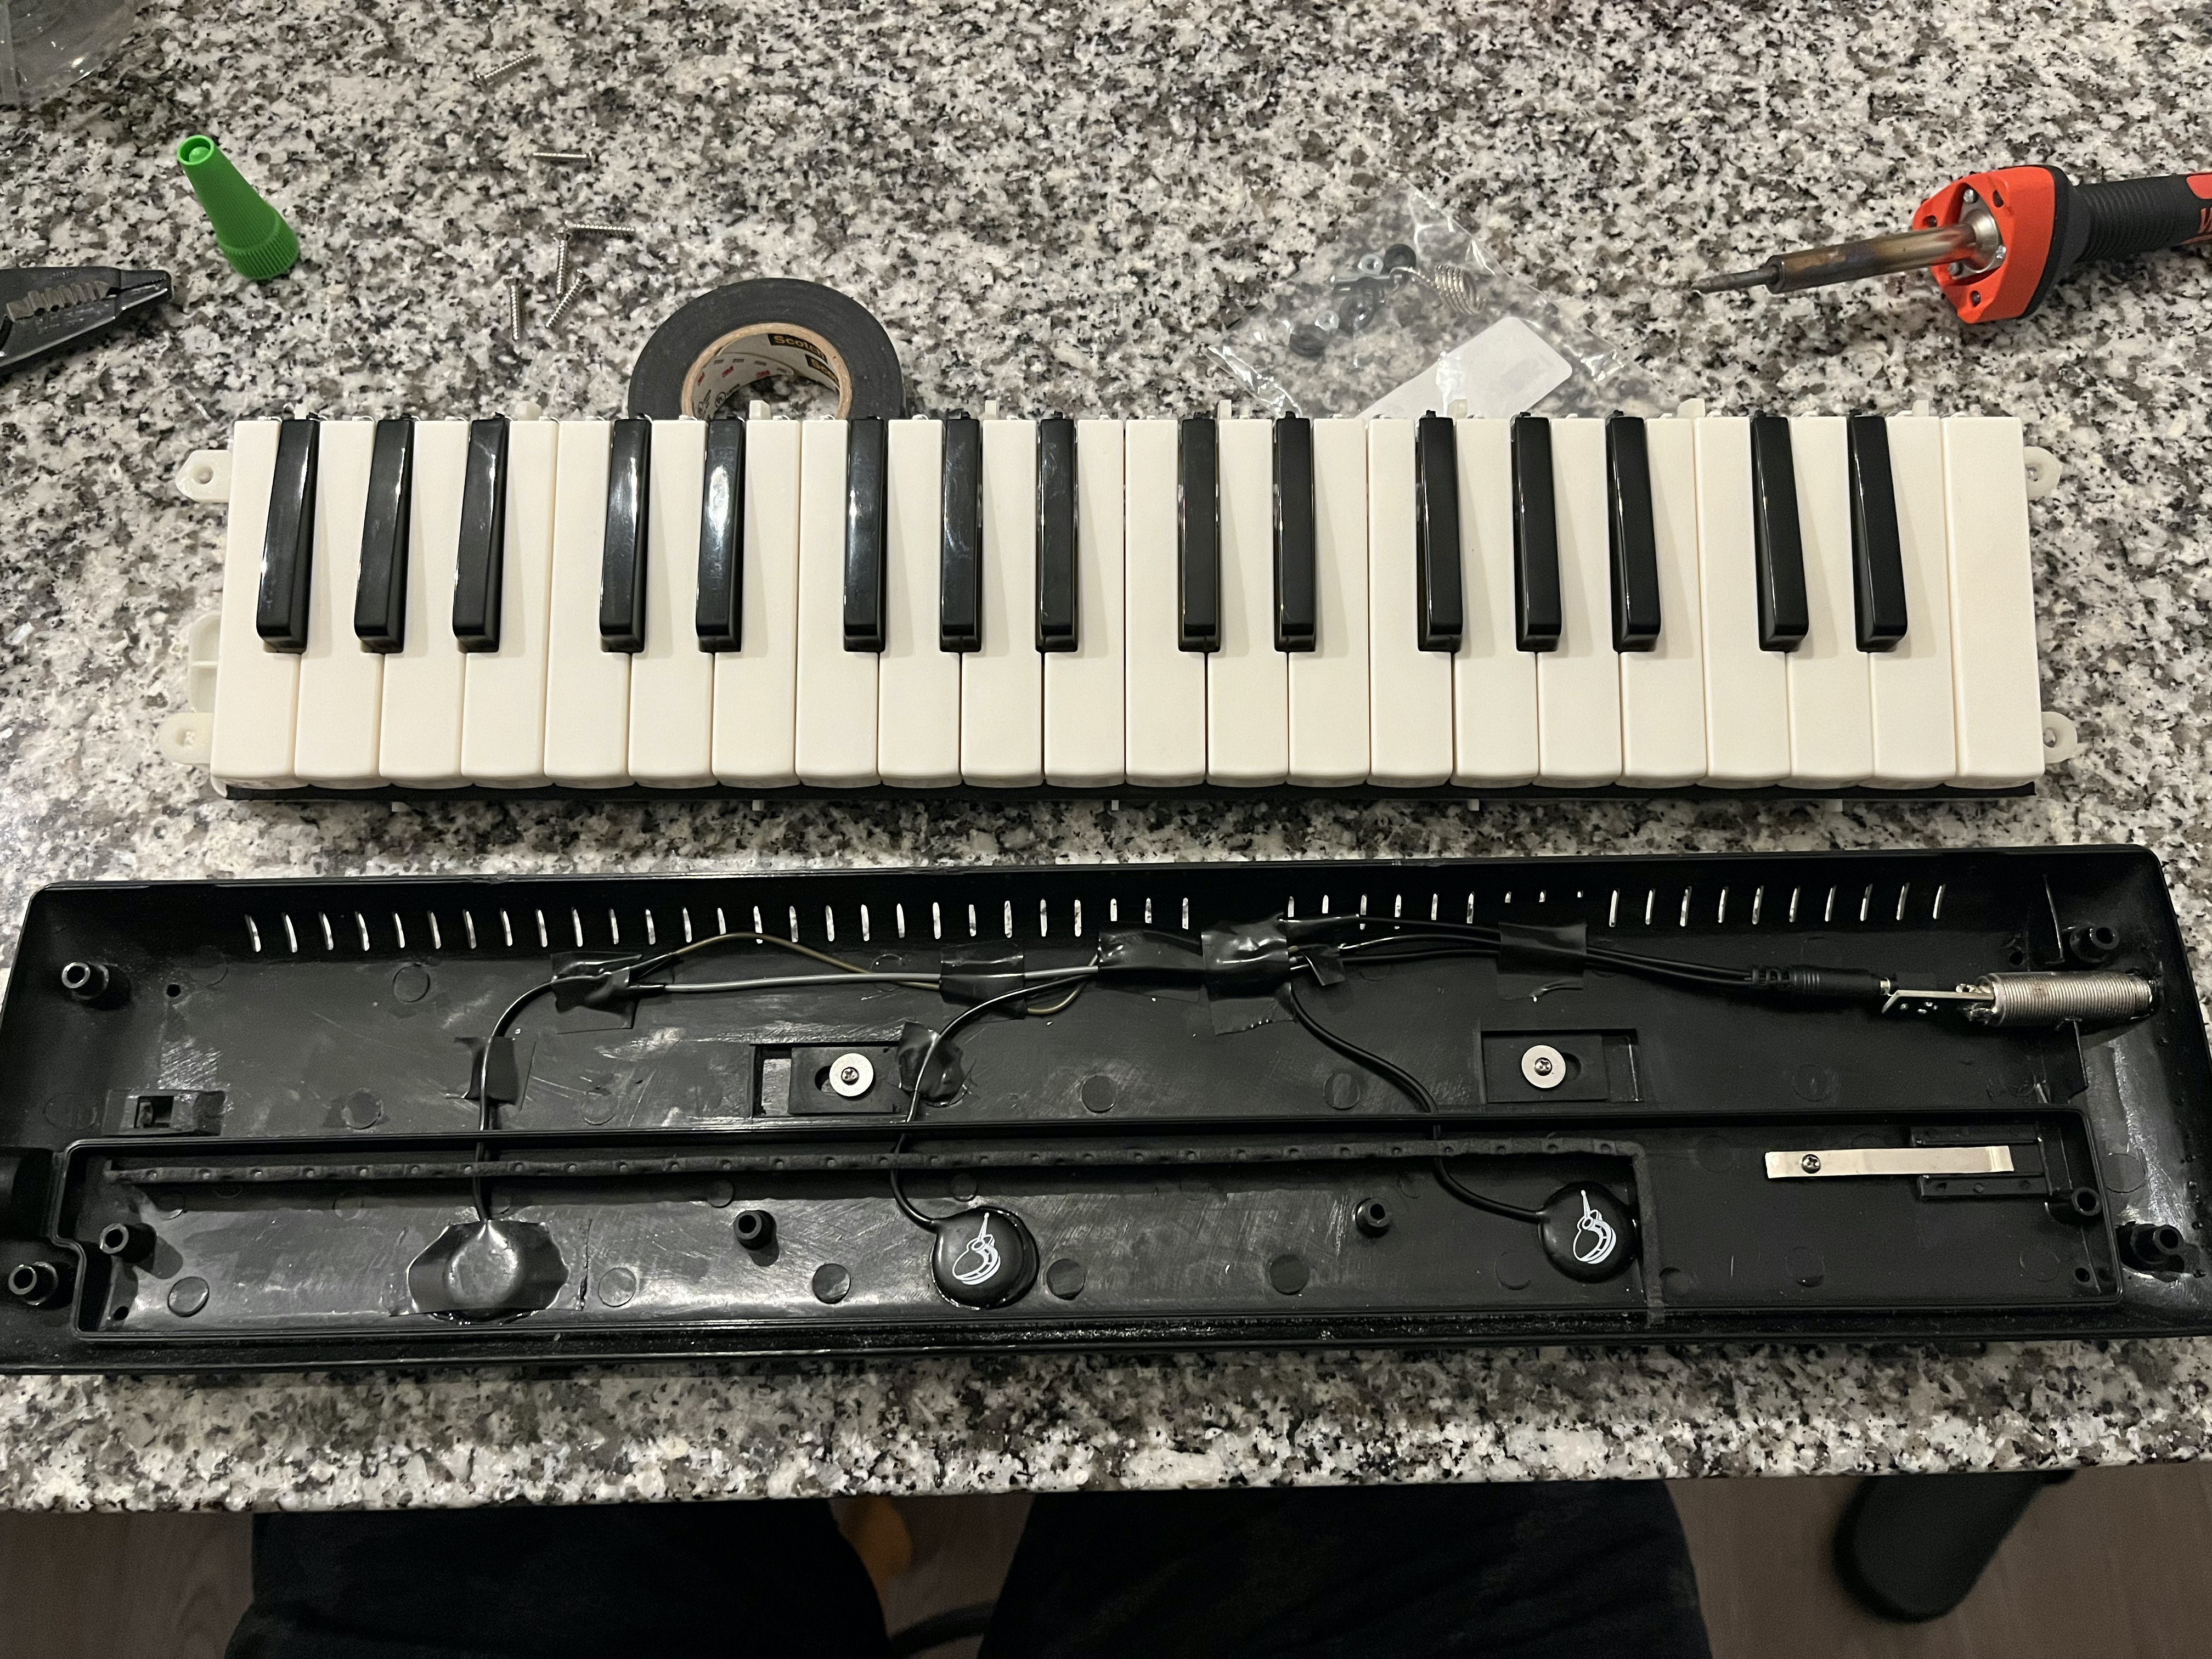
Luckily all my hard work payed off- the melodica sounded great, and the pickups still worked after my heavy-handed craftsmanship. I super glued and taped the pickups in place, sealed the wiring holes with super glue, and neatly stowed all the wires with electrical tape so as not to interfere with playing the instrument. Remarkably, everything fit back into the original casing, which was a very satisfying outcome. Overall I had a great time working on this project and I love playing my new steam-punk/funky electric-acoustic melodica!
How does it sound?
I am a huge fan of the blues-harp tone that I can get out of my electric-acoustic melodica. I can also utilize my guitar pedalboard to create loops and add distortion and other effects to the original melodica tone that would be otherwise impossible with a normal melodica. I added some short clips below to highlight the capabilities of the instrument!