PiCamera
PiCamera Potential
I recently came across a post by Leigh Johnson about using open source machine learning code (Tensor Flow) to create a real-time object tracking camera using Raspberry Pi. The camera would use a custom python library and PID-controller concepts to swivel and track the desired object. I was intrigued so I purchased some parts to play around with!
Bill of Materials
- Raspberry Pi 3B
- PiCamera Module
- Pan-Tilt HAT by Pimoroni
- Extra-long ribbon cable
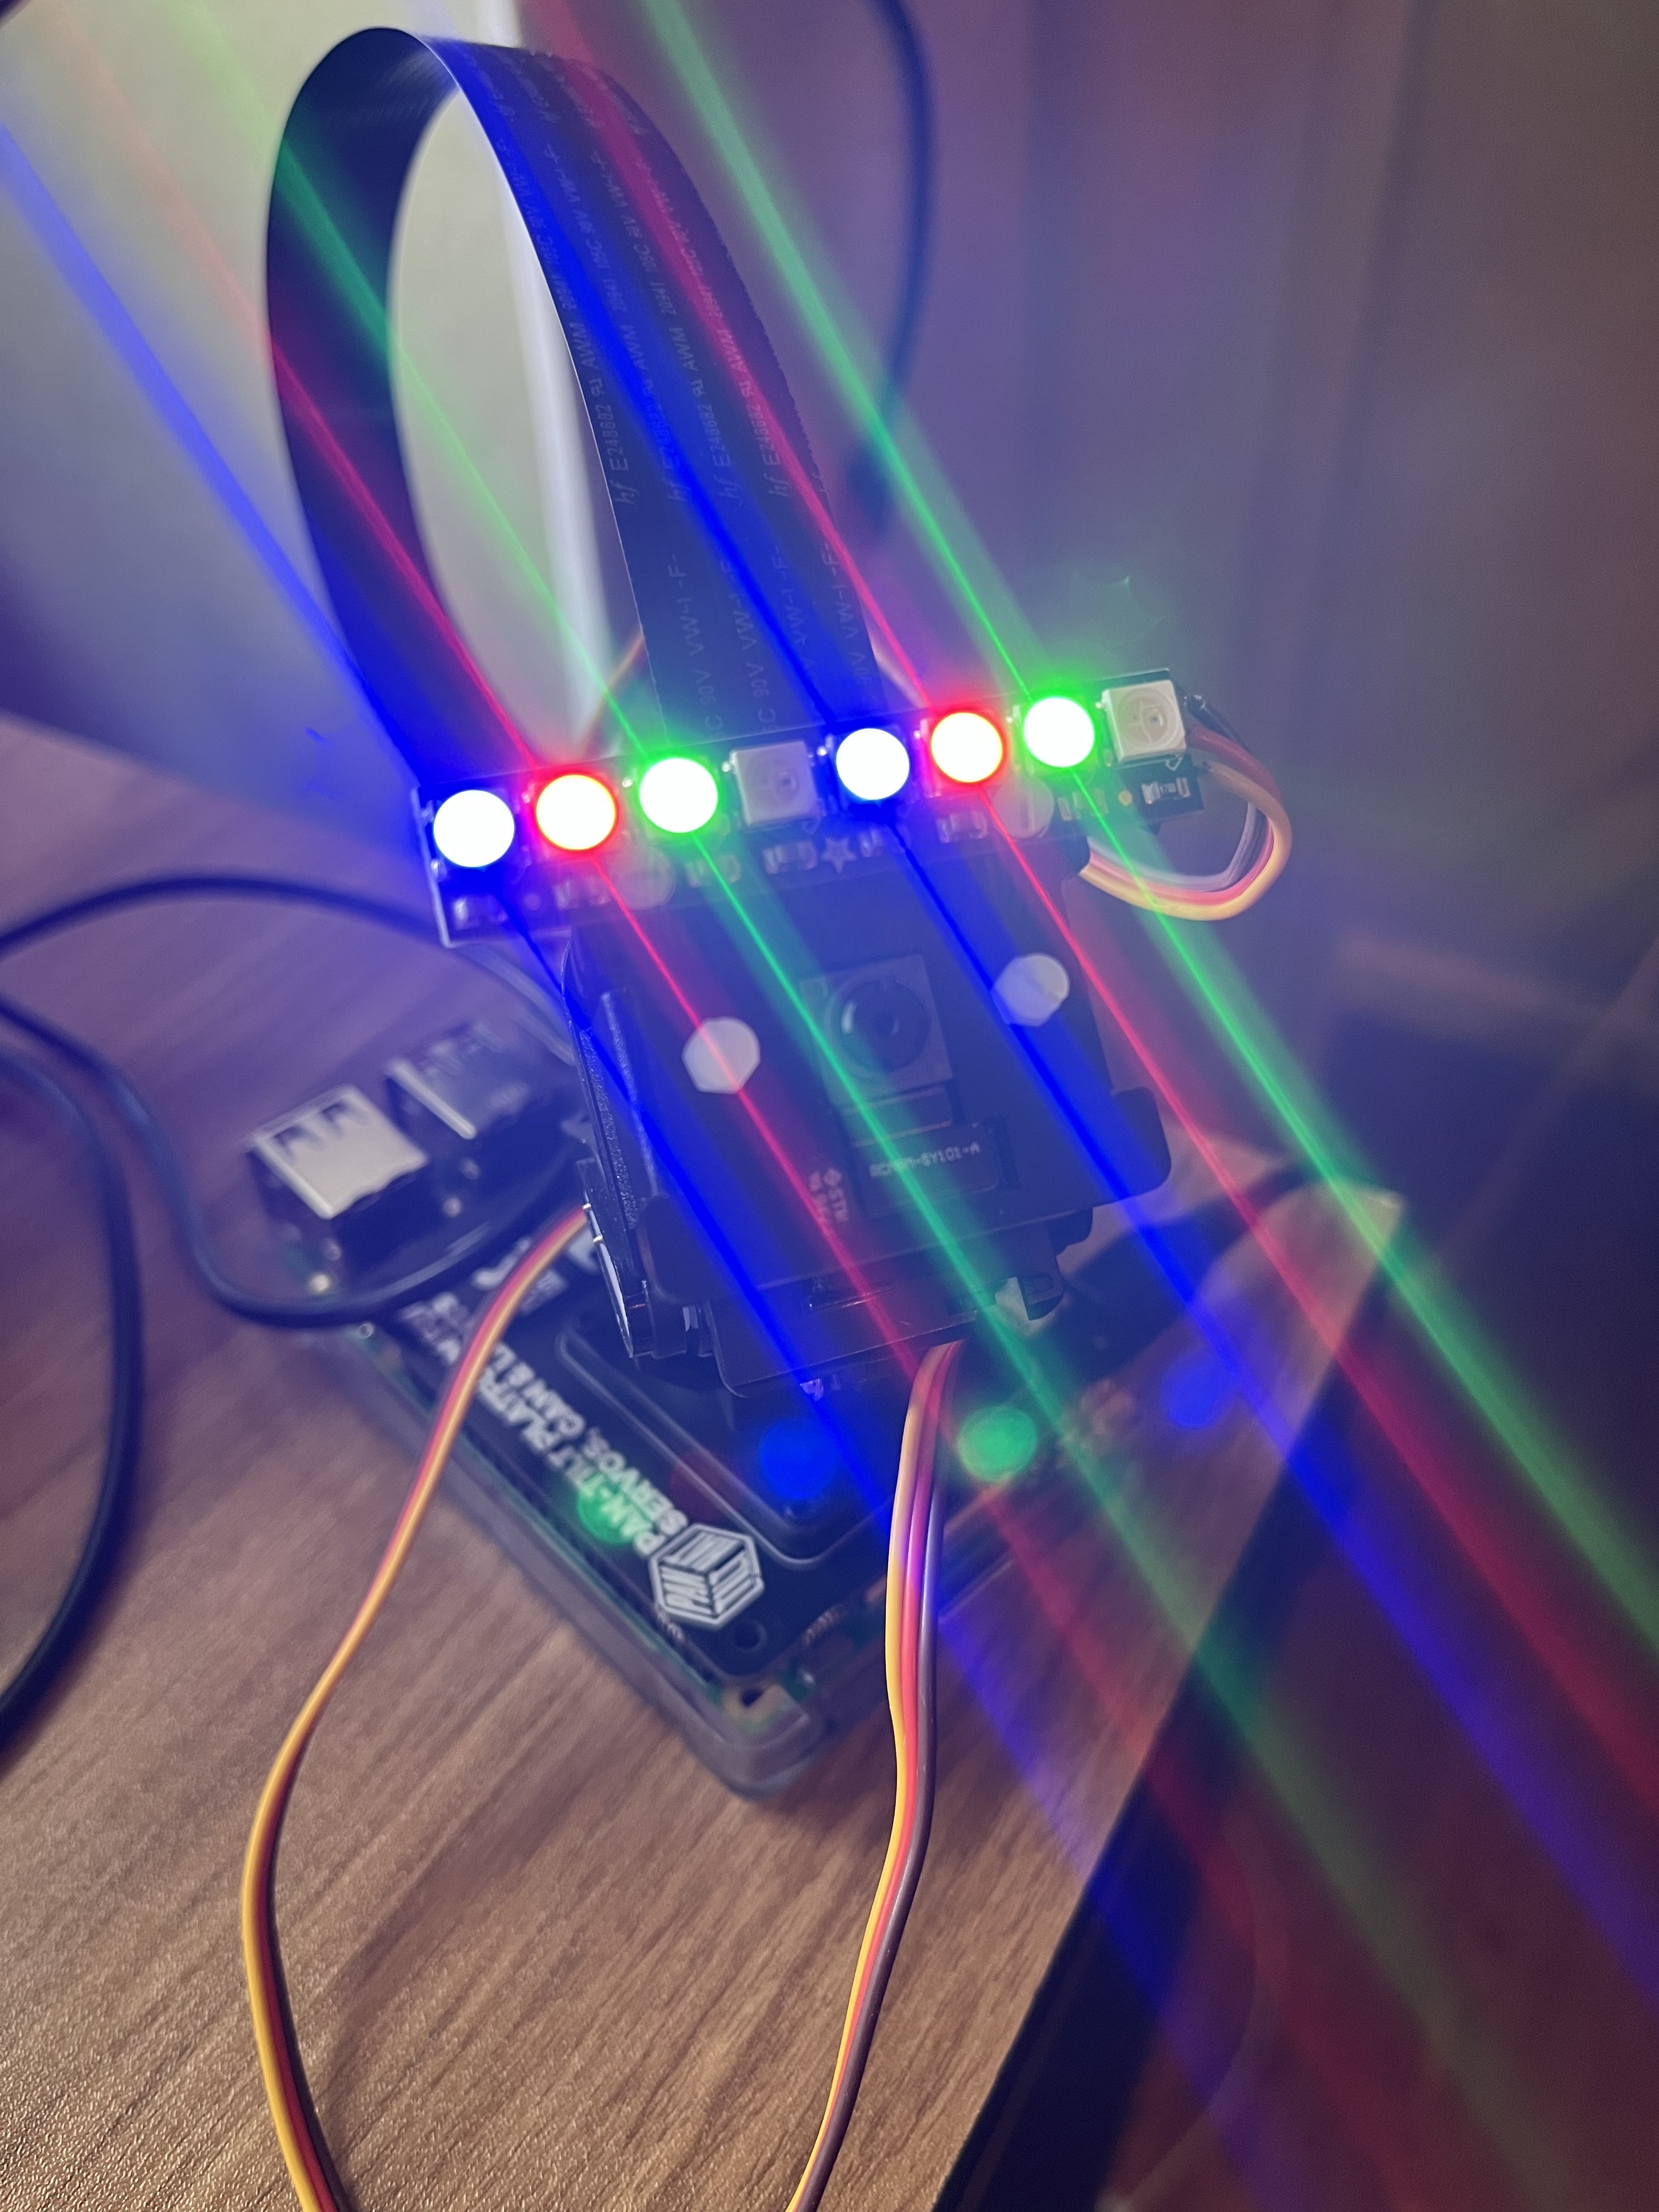
- LED light bar for the HAT
Object Tracking and “Security Camera” Livestream
I decided to integrate a few ideas into one. First, I wanted to be able to access the camera over the internet and be able to pan and tilt the camera in any manner using the keyboard or input links on the website. Second, I wanted to integrate the concepts of object tracking and machine learning. Lastly, I would want the feed of the camera to be a livestream accessible to my friends or family who would want to track something (i.e. the family cats).
Pan Tilt Control
The first step was assembly the Pan-Tilt HAT and testing the functionality on the raspi. Since I normally use the headless configuration (SSH control) for the raspberry pi I needed to troubleshoot the picamera python module locally by connecting a monitor and keyboard. I used the default python code from the picamera library to make sure the servos were in working order. The commands “.pan()” and “.tilt” are within a while loop that sends the camera on an eliptical path:
a = math.sin(t * 2) * 90

# Cast a to int for v0.0.2
a = int(a)

pantilthat.pan(a)
pantilthat.tilt(a)
Access Raspberry Pi Stream over Internet
Everything worked as expected out of the box. The next step was to be able to view the output from the picamera without an HDMI cable or direct connection to the raspi. To do this, I created a Flask stream available on my local internet connection by following a great tutorial by Miguel Grinberg. This method involves using Flask, a .jpeg stream of the picamera and making it available on an html webpage. By cobbling together some python code from Miguel and customizing my index.html page, I came up with the following:
Python code
app = Flask(__name__)

@app.route('/')
def index():
    """Video streaming home page."""
    return render_template('index.html')

def gen(camera):
    """Video streaming generator function."""
    yield b'--frame\r\n'
    while True:
        frame = camera.get_frame()
        yield b'Content-Type: image/jpeg\r\n\r\n' + frame + b'\r\n--frame\r\n'

@app.route('/video_feed')
def video_feed():
    """Video streaming route. Put this in the src attribute of an img tag."""
    return Response(gen(Camera()),
                    mimetype='multipart/x-mixed-replace; boundary=frame')

# Initialize globals
panServoAngle = 0
tiltServoAngle = 0
increment = 10

# Import increment from index.html
@app.route("/increment", methods=['POST'])
def get_inc():
	global increment
	increment = int(request.form['increment'])
	type(increment)
	print("Current Increment:")
	print(increment)
	return render_template('index.html')
# Receive Instructions over internet for pan/tilt
@app.route("/<servo>/<angle>")
def move(servo, angle):
	global panServoAngle
	global tiltServoAngle
	if servo == 'pan':
		if angle == '+':
			panServoAngle = panServoAngle + increment
		else:
			panServoAngle = panServoAngle - increment
		pantilthat.pan(panServoAngle)
		time.sleep(0.005)

	if servo == 'tilt':
		if angle == '+':
			tiltServoAngle = tiltServoAngle + increment
		else:
			tiltServoAngle = tiltServoAngle - increment
		pantilthat.tilt(tiltServoAngle)
		time.sleep(0.005)

	templateData = {
      	'panServoAngle' : panServoAngle,
      	'tiltServoAngle' : tiltServoAngle,
	'increment' : increment
	}
	return render_template('index.html', **templateData)
  # ...
(for python packages used/detailed code just message me, it is somewhat lengthy)
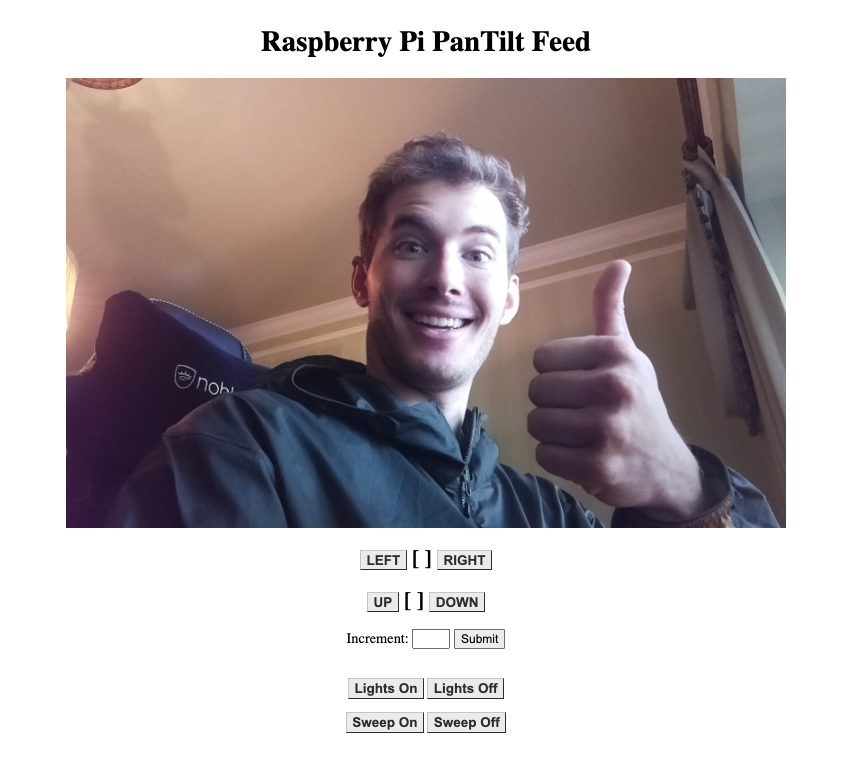
I created custom app routings for turning the lights on and off as well as a “patrol” function which makes a horizontal scan of the environment indefinitely until interrupted by the user. The routings in the app are all linked with the basic html layout of the site:
index.html page
<html>
  <head>
    <title>Brendan's Raspberry Pi Livestream</title>
      <link type="text/css" rel="stylesheet" href= ""/>
  </head>
  <body>
    <h1>Raspberry Pi PanTilt Feed</h1>
    <img src="">
    <h2><a href="/pan/+"class="button">LEFT</a> [  ] <a href="/pan/-"class="button">RIGHT</a></h2>
    <h2><a href="/tilt/-"class="button">UP</a> [  ] <a href="/tilt/+"class="button">DOWN</a></h2>
    <form action="/increment" method="POST">
      <label for="increment">Increment:</label>
      <input id="increment" name="increment" type="number" step="1" min="1" max="30">
      <input type="submit" value="Submit">
    </form>
    <br />
    <a href="/on_light" class="button">Lights On</a>
    <a href="/off_light" class="button">Lights Off</a>
    <br />
    <br />
    <a href="/on_patrol" class="button">Sweep On</a>
    <a href="/off_patrol" class="button">Sweep Off</a>
  </body>
</html>
The End Result!
Opening Livestream to the Internet
So the stream works over local internet, but what if I wanted to view something while away from home? I started by following a Digital Ocean tutorial on integrating Flask apps with uWSGI and Nginx. I set up everything to communicate correctly, and the live stream does show up correctly, however the Flask/Nginx/uWSGI combo is probably too light-weight for streaming. I tried sending some commands and the server crashes with an “out of resources” error!
picamera.exc.PiCameraMMALError: Failed to enable connection: Out of resources
I attempted to change the resolution but the issues persisted (dropped frames, very laggy stream and low resources). It’s unfortunate that this first attempt didn’t work - I even bought a domain name with Google Domains (lol). Check out braspiapp.com!
ML and Object Tracking
To tackle the object tracking component of this build, I approached the problem from multiple angles. First I got the hand of controlling the pantilt Hat and streaming on my local internet as well as learning some basica HTML. Now, the task ahead is to experiment with some open-source existing object recognition software that I can play around with before implementing into my build.
TensorFlow
I was pretty new to Machine Learning, having touched on it only briefly during my research while collaborating with an undergrad student. I was inspired by this post from Leigh Johnson which was essentially a step-by-step walkthrough on using TensorFlow with raspberry pi. After installing all the required software onto my pi (with some substitutions since this was an old article), it was time to test the object detection from Leigh’s program.
By running
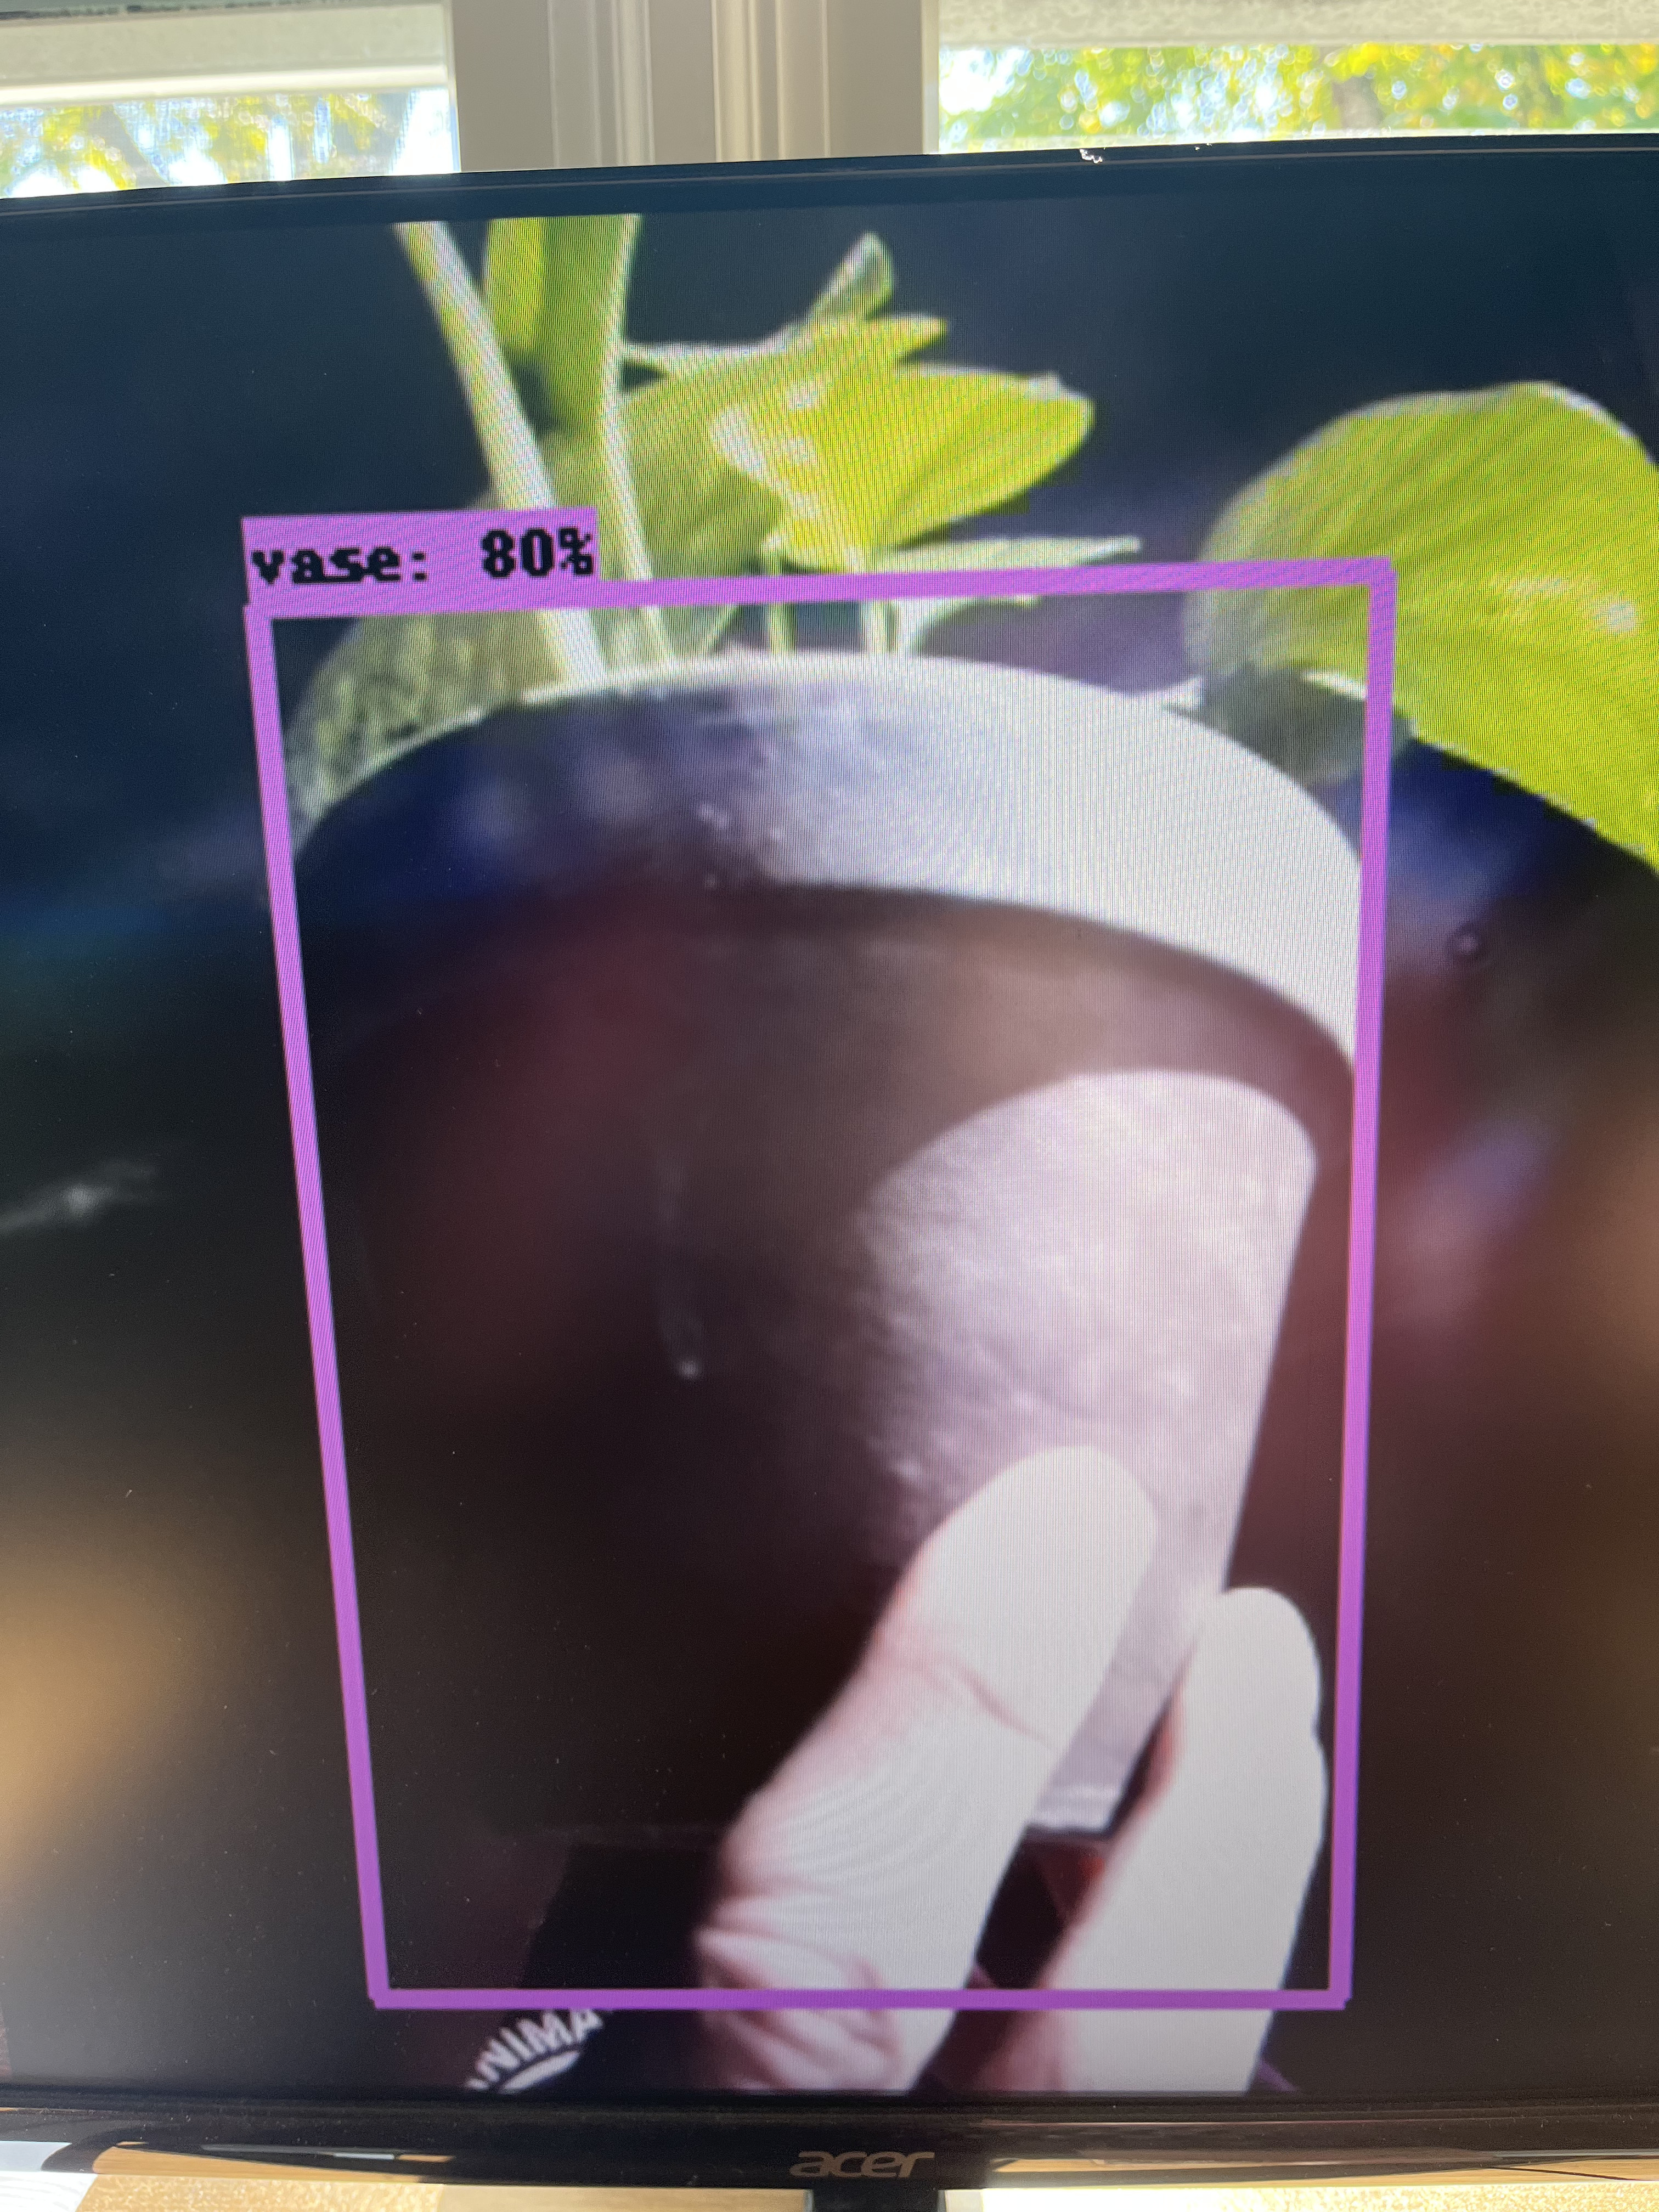
rpi-deep-pantilt detect vase
or
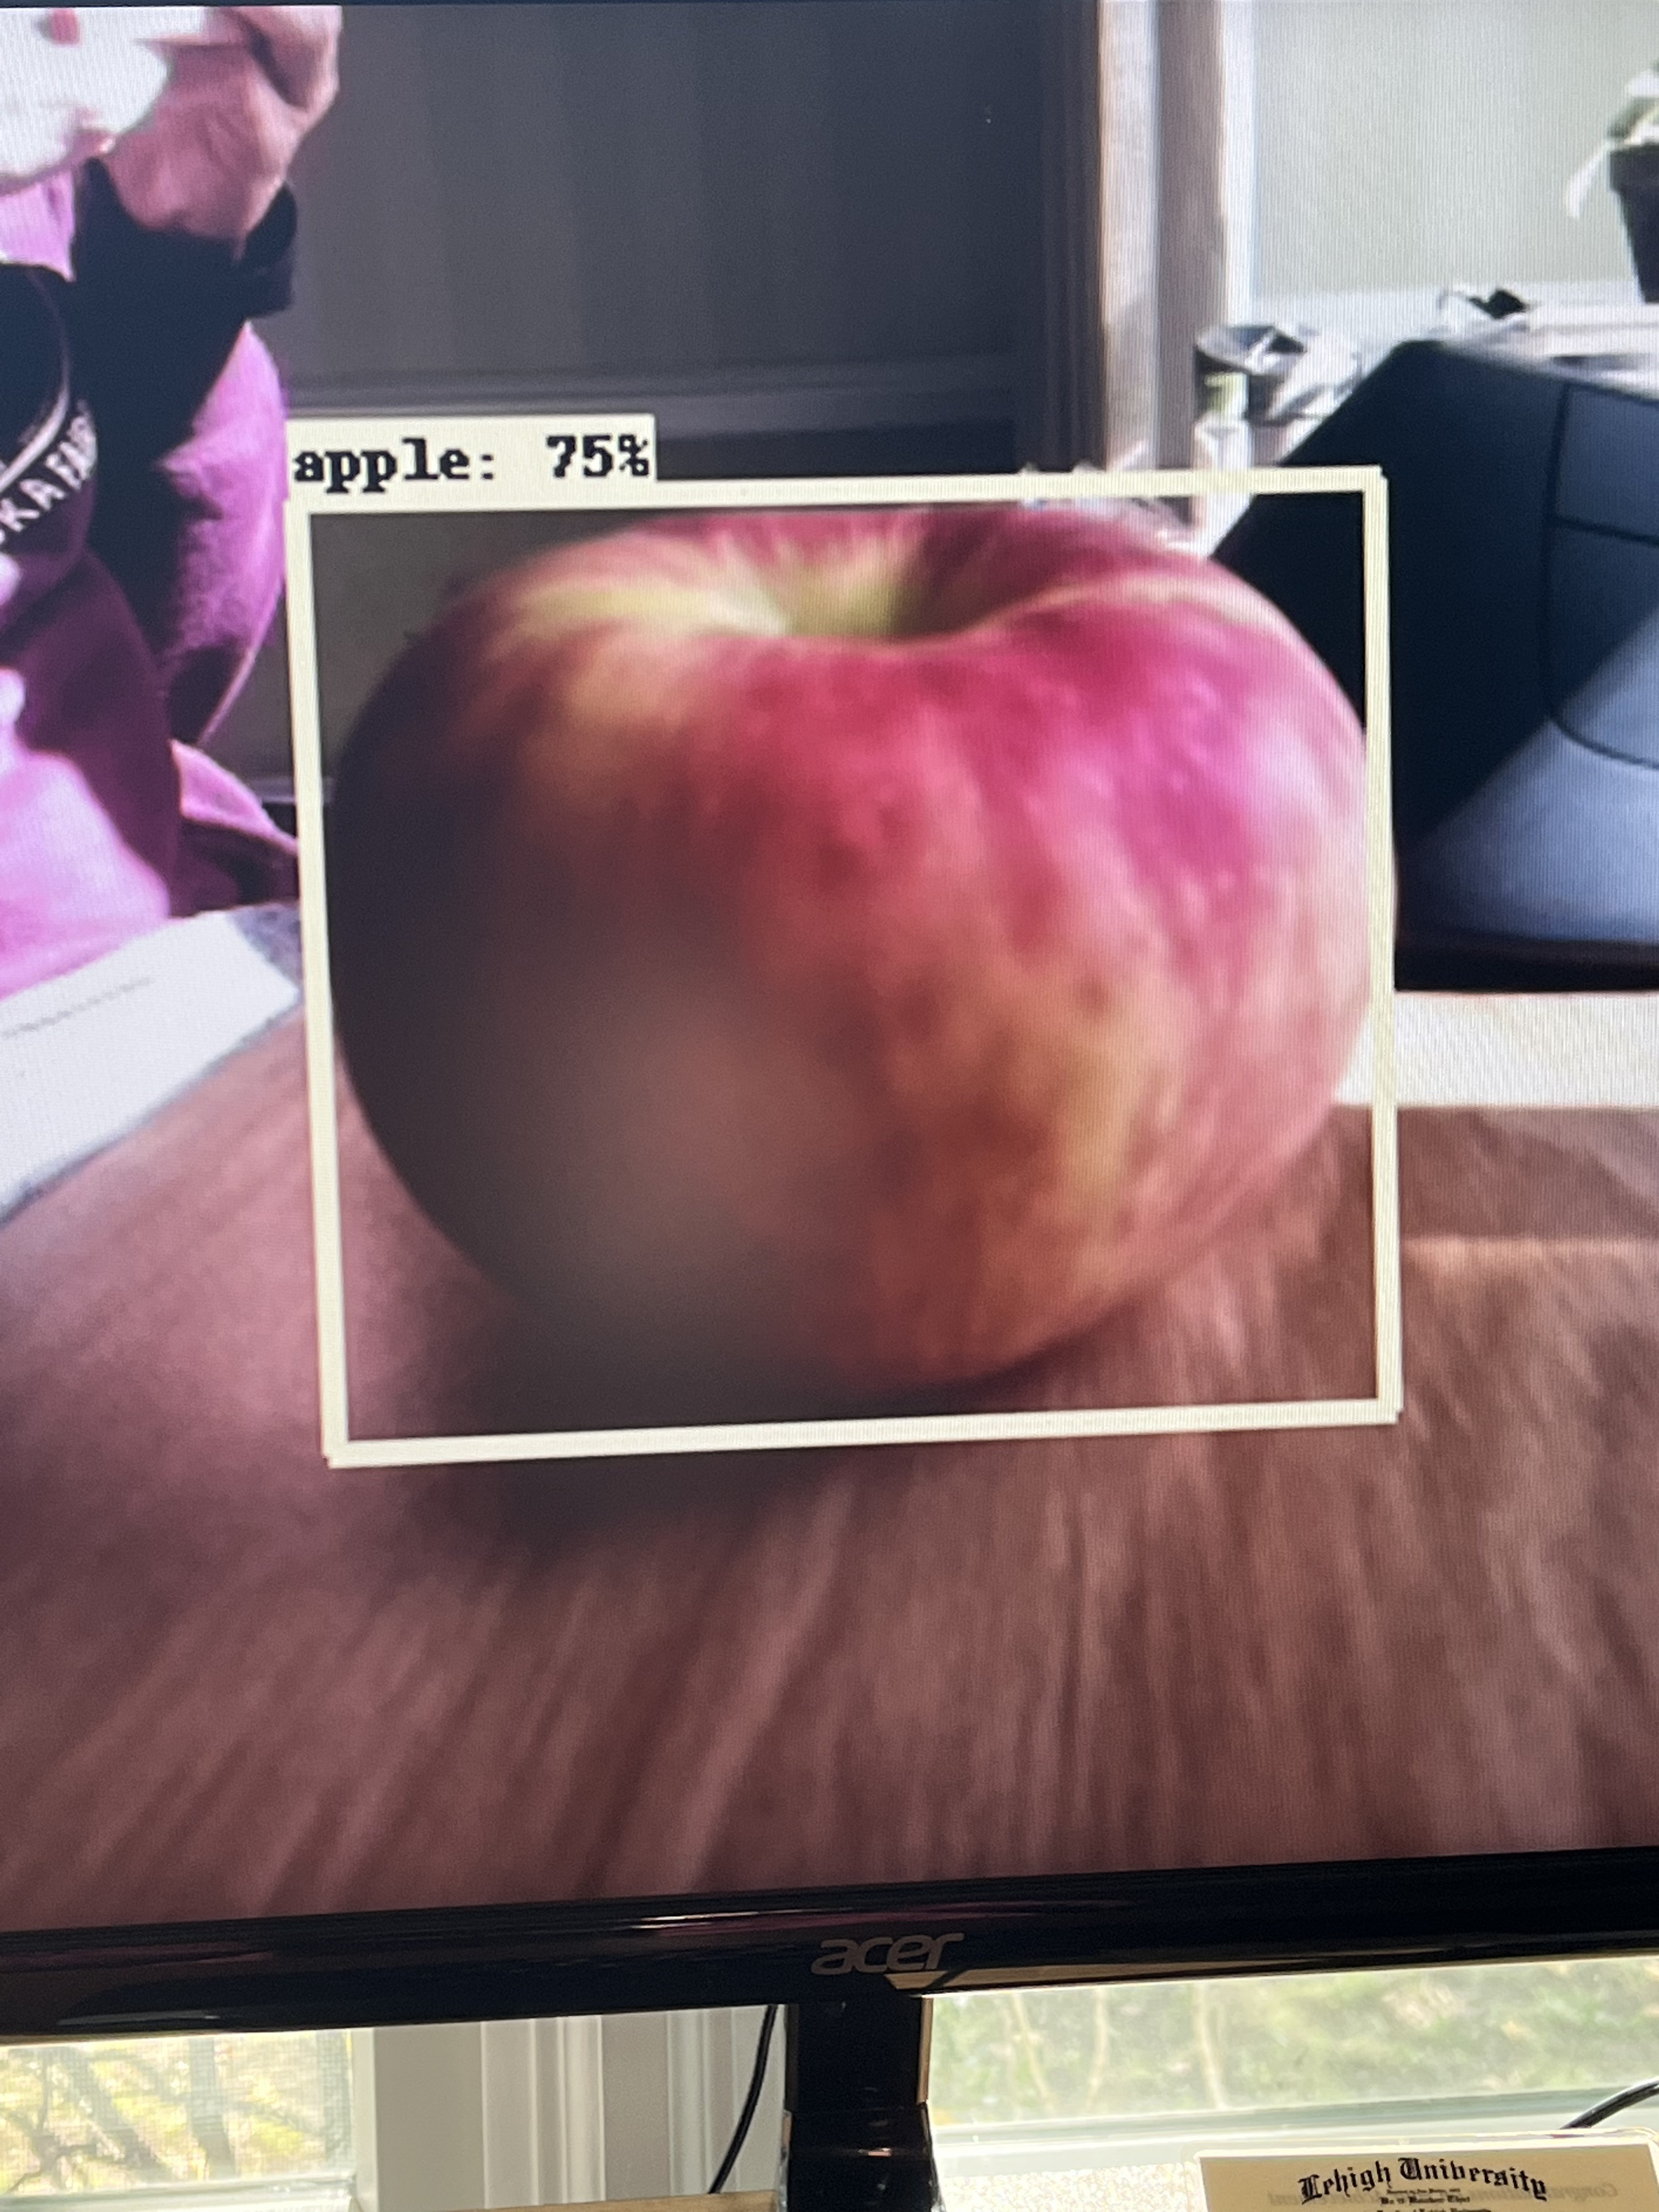
rpi-deep-pantilt detect apple
for example, the results were great. The pi classified the objects in-frame and added a bounding box with the object confidence level. The simple PID controller program kept the requested object centered.
While it does work “out of the box”, the software is pretty buggy - the PID will sometimes get stuck with the camera looking straight up or down for example. I also made some edits in the python package to flip the camera horizontally and vertically. I will continue to tweak the code so it performs optimally for my needs.
Integration
Now that each individual module of my plan was working, it was time to bring them together to work in concert. I first attempted to add a “tracking” function to my site. Unfortunately, I have been running into the same “out of resources” error with my PiCamera. This might mean I should start from scratch, and use the camera only for tracking with an interrupt function for manual control, but that remains to be seen. I will continue to add updates as I work out the kinks!